What to Do After a Storm: Solar Panel Inspection & Cleaning
Most people focus on personal safety and structural property damage when a major storm rolls through. However, solar panel systems are often exposed on rooftops or open fields. This is why they are also vulnerable to the elements.
Strong winds, debris, heavy rain, and even hail can affect your solar panel system's performance and structural integrity. That's why knowing how to inspect and clean your panels after a storm is essential. Proper post-storm care protects your investment, ensures energy efficiency, and prevents long-term damage.
Solar panels are built to endure harsh weather, but no system is entirely immune to the forces of nature. After a storm, your primary goal should be to assess the condition of your solar setup safely and systematically.
This article provides a complete guide on conducting a solar panel inspection, performing necessary cleaning, identifying any signs of damage, and determining when to call for professional help. Here are some things that you should know.
1. Begin With a Safety Check
Before approaching your solar panels, take a moment to evaluate the general safety of your property. Scan the area for obvious hazards such as downed power lines, broken branches, or loose roofing materials. Do not climb onto the roof or touch any part of the solar panel system if there's water accumulation, exposed wiring, or other visible dangers.
If your system includes ground-level components like inverters or battery banks, inspect them visually without making contact. Signs of water infiltration, scorching, or dislodged parts should be noted and photographed. If any system part appears hazardous, contact a licensed solar technician immediately.
2. Shut Down the System If Necessary
If visible or suspected damage occurs, power down your solar system to prevent electrical hazards. Most residential systems include a clearly labeled shutoff switch near the inverter or electrical panel. Shutting down the system can prevent energy from being fed back into damaged lines or components, which protects both you and utility workers.
Refer to your system's user manual or contact your installer for instructions if you're unsure how to turn off the system safely. Avoid attempting DIY repairs or troubleshooting while the system is energized.
3. Perform a Ground-Level Visual Inspection
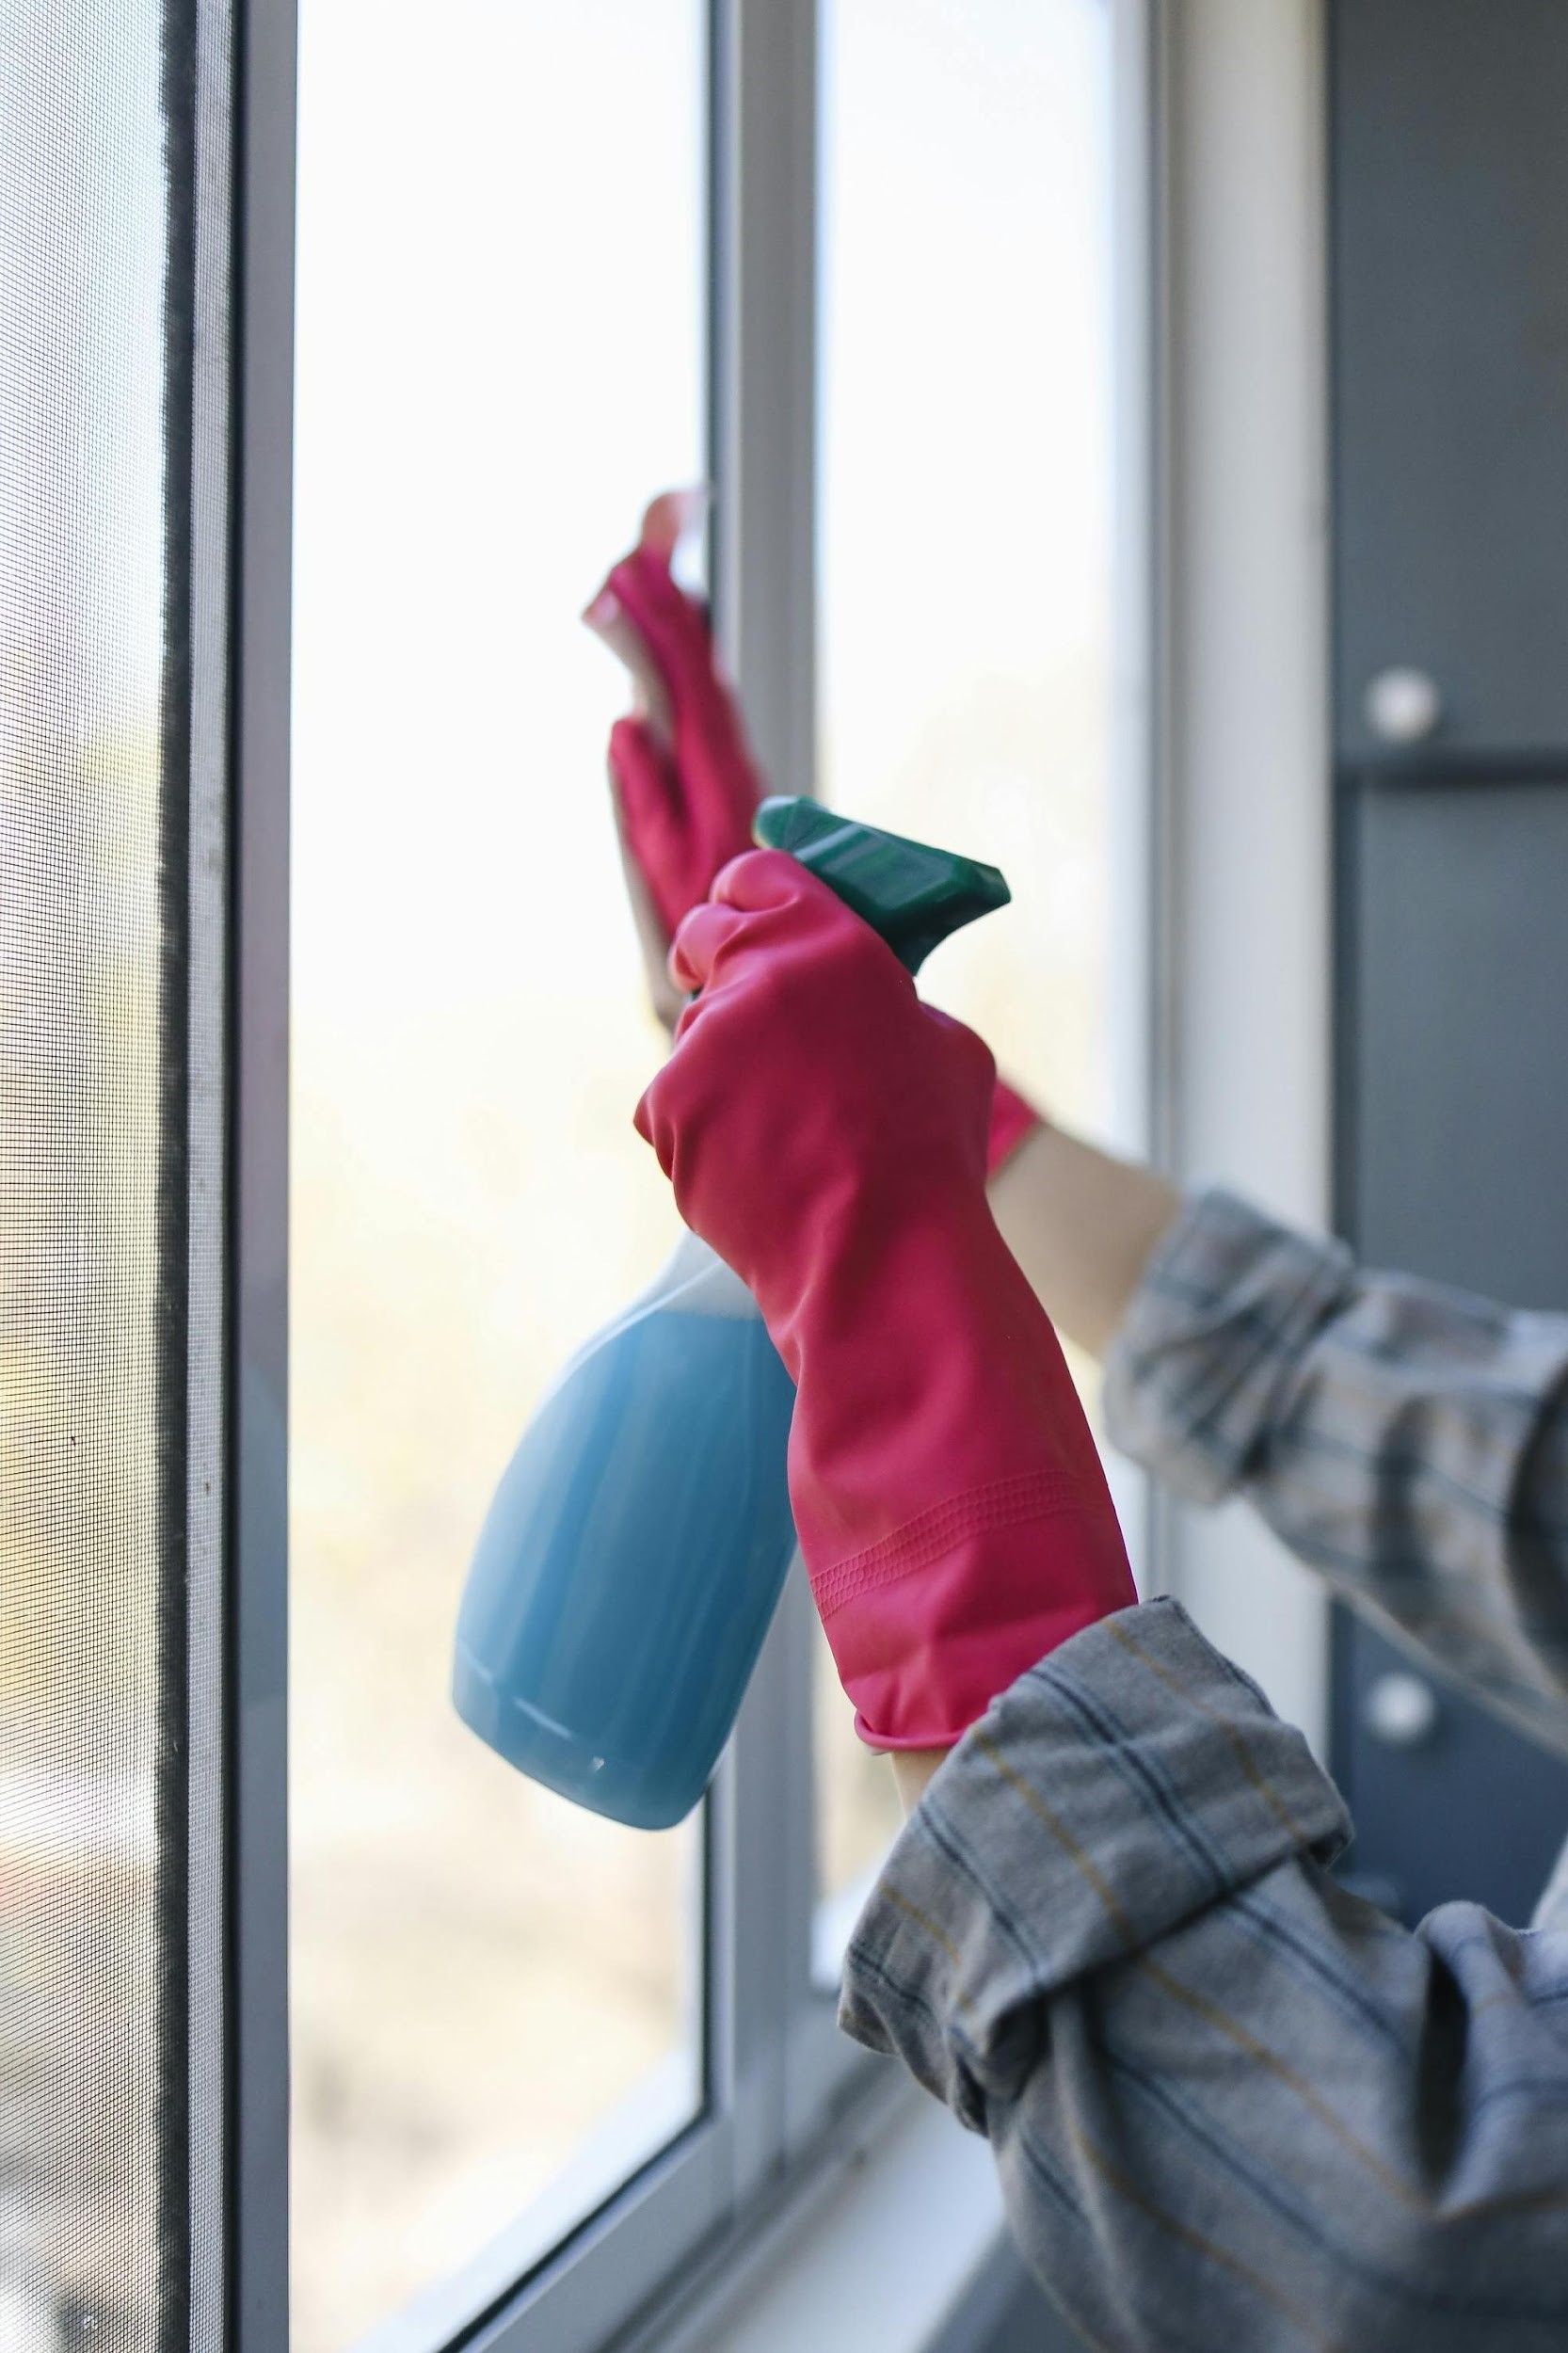
Rain leaves behind more than minerals. Over time, pollen, dust, vehicle emissions, bird droppings, and tree sap accumulate. A sudden downpour might wash away some particles, but sticky sap or oily residues resist water. That’s why, even after rain, windows still appear dull and grimy. In fact, moisture can react with those contaminants, creating a film that sticks to the glass.
Why Professional Cleaning Matters?
Once safety has been established, conduct a visual solar panel inspection from the ground using binoculars if needed. Look for the following issues:
- Cracks or shattering in the glass surface of the panels
- Panels that have shifted position or appear to be sagging
- Debris accumulation, such as leaves, twigs, or dirt
- Disconnected or dangling wires
- Moisture buildup inside the panel frames
While solar panels are designed to resist moisture and impact, high winds and flying debris can still cause hairline fractures, seal breaches, or wiring disconnections. Carefully documenting any abnormalities with photos will support insurance claims or warranty service requests later.
4. Check System Performance Data
Most modern solar systems include performance monitoring via a mobile app or a desktop portal. Log in and check the current performance metrics against your historical average. A sudden drop in output could indicate panel damage, a wiring issue, or dirt accumulation reducing light absorption.
Also, watch for error codes, system alerts, or irregular voltage readings. If your monitoring system is offline entirely, that may indicate inverter failure or a complete system shutdown due to storm conditions.
5. Clean the Panels Gently
Storms can leave behind dirt, pollen, bird droppings, or other debris that affect panel efficiency. Cleaning your panels restores their ability to absorb sunlight and prevents performance loss. However, post-storm cleaning should be done with extra caution.
The U.S. National Renewable Energy Laboratory (NREL) advises cleaning panels with plain demineralized water and mild detergent, using gentle overlapping vertical strokes and a soft squeegee, while always following the module manufacturer's instructions.
Use soft cleaning tools only, such as a microfiber cloth, sponge, or squeegee attached to an extension pole. Avoid abrasive scrubbers, harsh detergents, or pressure washers, which can damage the panel surface.
Here are a few cleaning tips:
- Rinse panels with a gentle stream of water from a garden hose.
- Apply mild, soapy water if needed, then rinse thoroughly.
- Clean early in the morning or late afternoon to prevent water streaks from drying too quickly.
- Do not step directly on the panels, even if they appear solid.
For rooftop systems, staying on the ground is safer if possible. Hire a professional solar panel cleaner if access is difficult or dangerous.
6. Inspect Mounting Hardware and Supports
After the panels are clean, evaluate the mounting system that holds them in place. Look for:
- Rusted bolts or corroded fasteners
- Bent or misaligned mounting brackets
- Loose rails or clips
- Gaps between panels and mounts
A storm may loosen the mounting hardware without displacing the panels entirely. Left uncorrected, this can lead to vibrations, inefficiencies, or even a future collapse in high winds.
If you notice structural instability, contact your installer or a structural engineer. A sturdy mount is just as crucial as functional panels when it comes to safety and long-term efficiency.
7. Evaluate the Roof Condition
If your solar panels are rooftop-mounted, inspect the surrounding roof area. Look for missing shingles, uplifted tiles, or signs of water leakage in your attic. A compromised roof can lead to mounting failure or water infiltration that affects the roof and the solar system.
Water damage often appears as discoloration, warping, or soft spots under the panels. While these signs may not be visible from ground level, checking inside the attic can help detect early-stage damage.
8. Record All Observations
Documentation is a key part of any post-storm evaluation. Take clear, dated photos of any damage, misalignments, or performance changes. These images will be helpful if you need to file an insurance claim or submit a warranty request to your solar manufacturer or installer.
Also, maintain written records of your solar panel inspection process, including dates, times, and specific findings. Note whether the system was shut down, what areas were cleaned, and any professional services you contacted.
9. Contact a Professional for a Full Inspection
Even if you overlook major issues, it's wise to schedule a professional inspection after a strong storm, especially if your panels are older or in a high-risk area. Certified technicians use specialized tools to detect micro-cracks, current leaks, or internal malfunctions that are not visible.
An official solar panel inspection report also adds credibility if you need to make a claim or defend the condition of your system during a sale or refinance. It serves as documented proof of upkeep and can help identify minor damage before it escalates into costly repairs or performance losses.
10. Understand Insurance and Warranty Coverage
Most homeowner insurance policies cover solar panels as part of the dwelling, meaning storm-related damage is usually eligible for a claim. Review your policy or speak with your insurance agent to confirm what is covered and what documentation is needed.
Also, check your panel warranty. Most manufacturers cover physical defects but may exclude damage from extreme weather unless specific conditions are met. If your system is under a maintenance contract, the provider may include storm checks and cleaning in your service plan.
11. Preventive Tips for Future Storms
Once your system is back in operation, prepare for future weather events. Consider the following:
- Install protective mesh or guards to block debris
- Trim nearby trees to reduce falling branches
- Secure or reinforce mounting brackets
- Improve drainage around ground-mounted systems
- Set calendar reminders for seasonal inspections
A small investment in preventive care can significantly extend the life of your system and reduce long-term repair costs.
12. Know When to Replace Instead of Repairnd Insurance and Warranty Coverage
In some cases, the cost of repairing damaged panels or mounts may outweigh the benefits; especially if your system is nearing the end of its warranty or technological lifespan. Modern panels are more efficient and durable than older models, so replacing heavily damaged components might increase energy production and reduce maintenance over time.
If you're unsure whether to repair or replace it, consult your installer and an independent solar advisor. A second opinion can help you make an informed decision based on output, cost, and future performance.
Conclusion: Protecting Your Solar Investment
After a storm, inspecting and cleaning your solar system can prevent minor issues from escalating into costly repairs. Start with safety, thoroughly inspect, and clean gently using the right tools. Document everything, monitor your performance data, and don't hesitate to bring in professionals if anything seems questionable.
A well-maintained solar system continues to deliver clean energy even in adverse weather conditions. By being proactive, you not only extend the lifespan of your equipment but also preserve the efficiency and value of your green energy investment. With proper post-storm care, your solar setup can keep powering your home reliably for years.
An official solar panel inspection report also adds credibility if you need to make a claim or defend the condition of your system during a sale or refinance. It serves as documented proof of upkeep and can help identify minor damage before it escalates into costly repairs or performance losses.
To schedule a professional solar panel inspection, visit
www.clearwavellc.com.